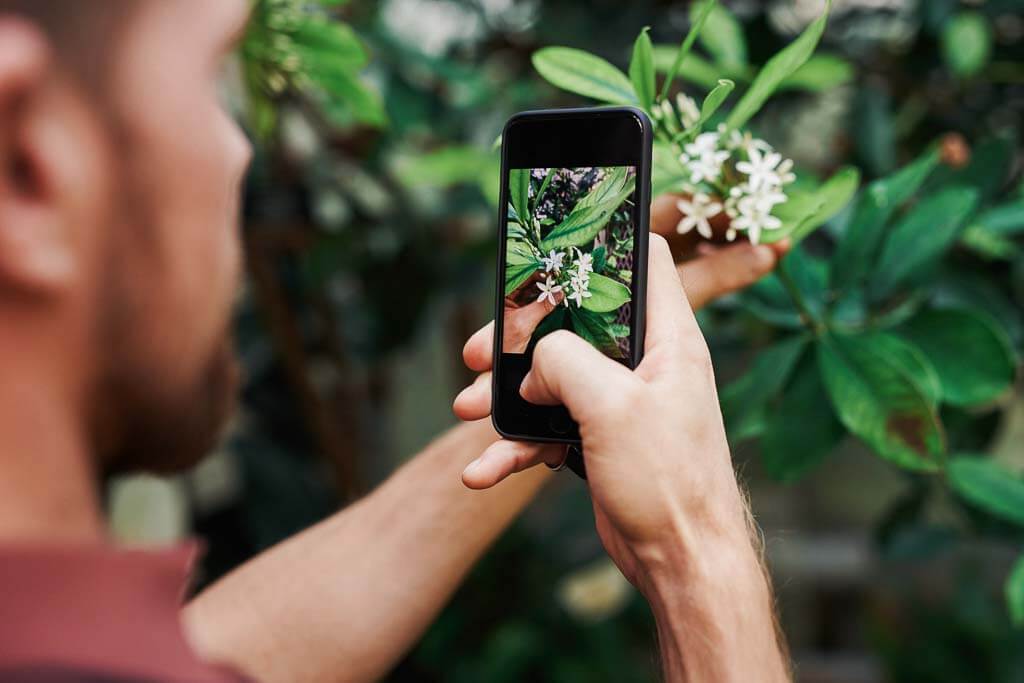


I’ve been a Wikipedia editor for a decade now, wow! Along the way I have had plenty of time to think about different aspects of the Wikipedia world. One big takeaway is generosity. By taking a picture I took and “giving it to the Internet” via the Wikimedia eco-system, I can share with and educate someone halfway across the world.
This usually means you took it or are absolutely sure you (yes, you) have the legal rights to it.
Good photos for Wikipedia are unique, clear & useful.
Wikimedia Commons is where all the images and other media for the various Wikipedia-related projects live. Use the links at the top right to log in or create a new user.
In the Commons left-hand menu, click “Upload file” to get to the Upload Wizard, which will walk you through some easy steps to get your photo online!
Because of your generosity, you just made the Internet a better, friendlier, and more educational place. Way to go, you!

Neat!